Import & Export
Export and import data between Zipline instances
As of version 4.4.0, Zipline supports exporting and importing data via JSON files.
Import & Export does not bundle files (such as uploaded files and thumbnails). This is done to keep the export file size small and manageable. To make sure your files are "imported", you can do the following:
- If using the
localdatasource:- Make sure to copy the uploads directory (e.g.
./uploads) to the same location on the new instance. This can be done viarsyncor similar tools.
- Make sure to copy the uploads directory (e.g.
- If using an S3-based datasource:
- This one's easy, just make sure the new instance is pointing to the same S3 bucket as the old instance.
Please read over the entire guide below before proceeding with exporting and importing data.
Exporting Data
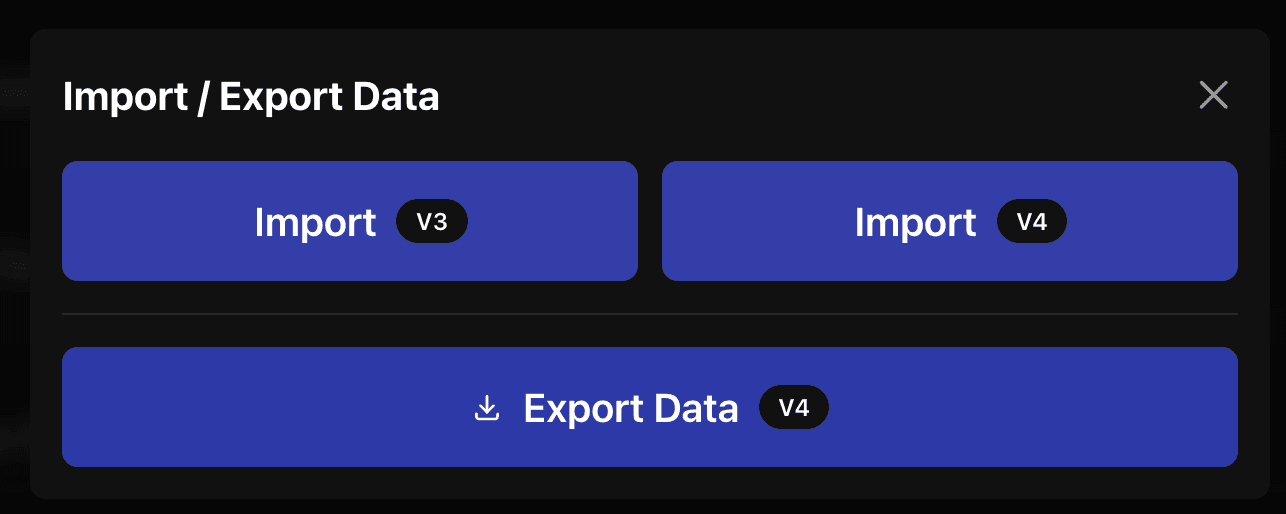
Head over to Actions page and click on the Import/Export Data button.

From there click the Export (V4) button.
After that, Zipline will show you all the data that will be included in the export file. Make sure that this export is not shared with anyone you don't trust, as it contains sensitive information such as user accounts and passwords. Additionally, you can choose to exclude including metrics data to reduce the size of the export file.
Once confirming, depending on the size of the export, you should get a browser download prompt for a JSON file containing your exported data.
After doing this, you can now move on to importing the data into another Zipline instance.
Importing Data
If you are setting up a new instance, first make sure you have completed the setup process (the steps that show up when you first access a new instance).
Similar to exporting data, head over to the Actions page and click on the Import/Export Data button.
From there click on the Import (V4) button.
After that, Zipline will show you all the data that is included in the export file. Take a moment to review the data, then scroll down to the Import Settings section.
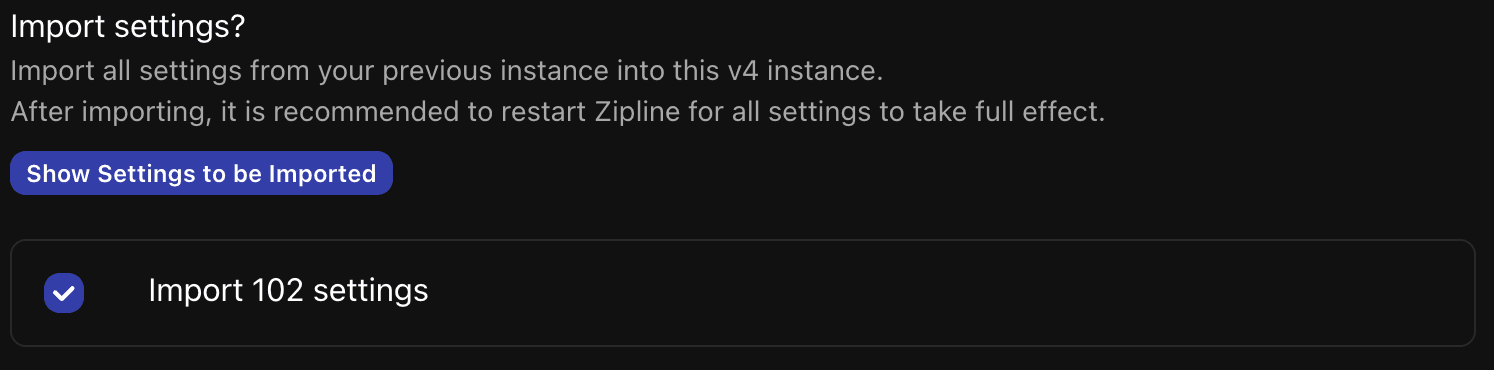
You have a choice of either copying the settings from the export file, or starting fresh with the default settings. After that, scroll down to the Merge User section.
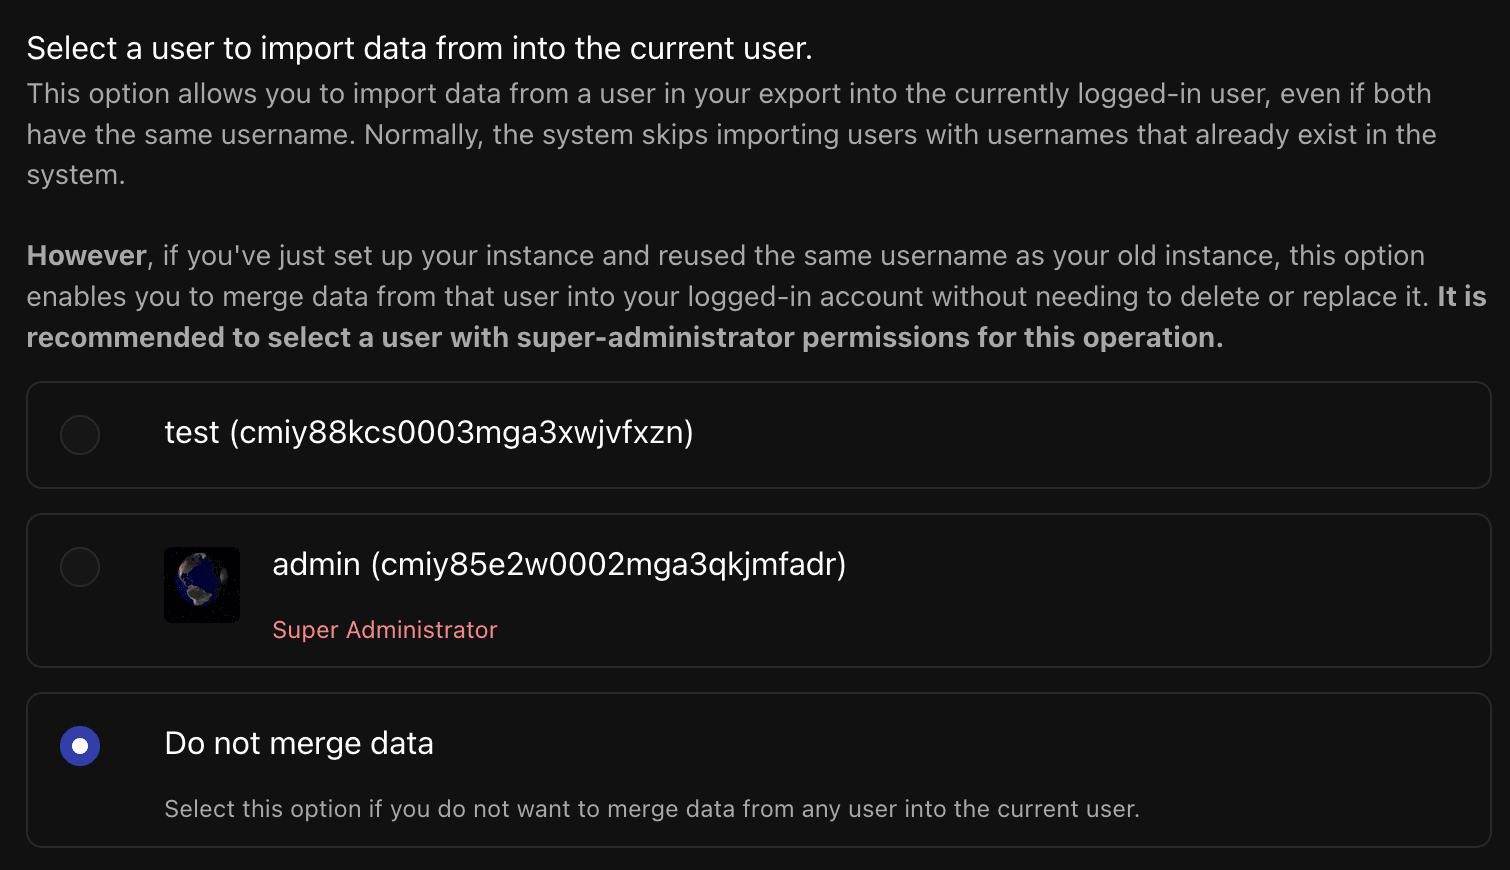
Here, you can choose to either merge the current logged in user (the super-admin user created during the setup of the new instance) with an existing user in the export file, or not merge at all. Merging users is useful if you want to keep the same super-admin user on the new instance, while still importing all other users. If you choose to not merge data, and you are currently logged into a user with the same username as one in the export file, the import will skip that user.
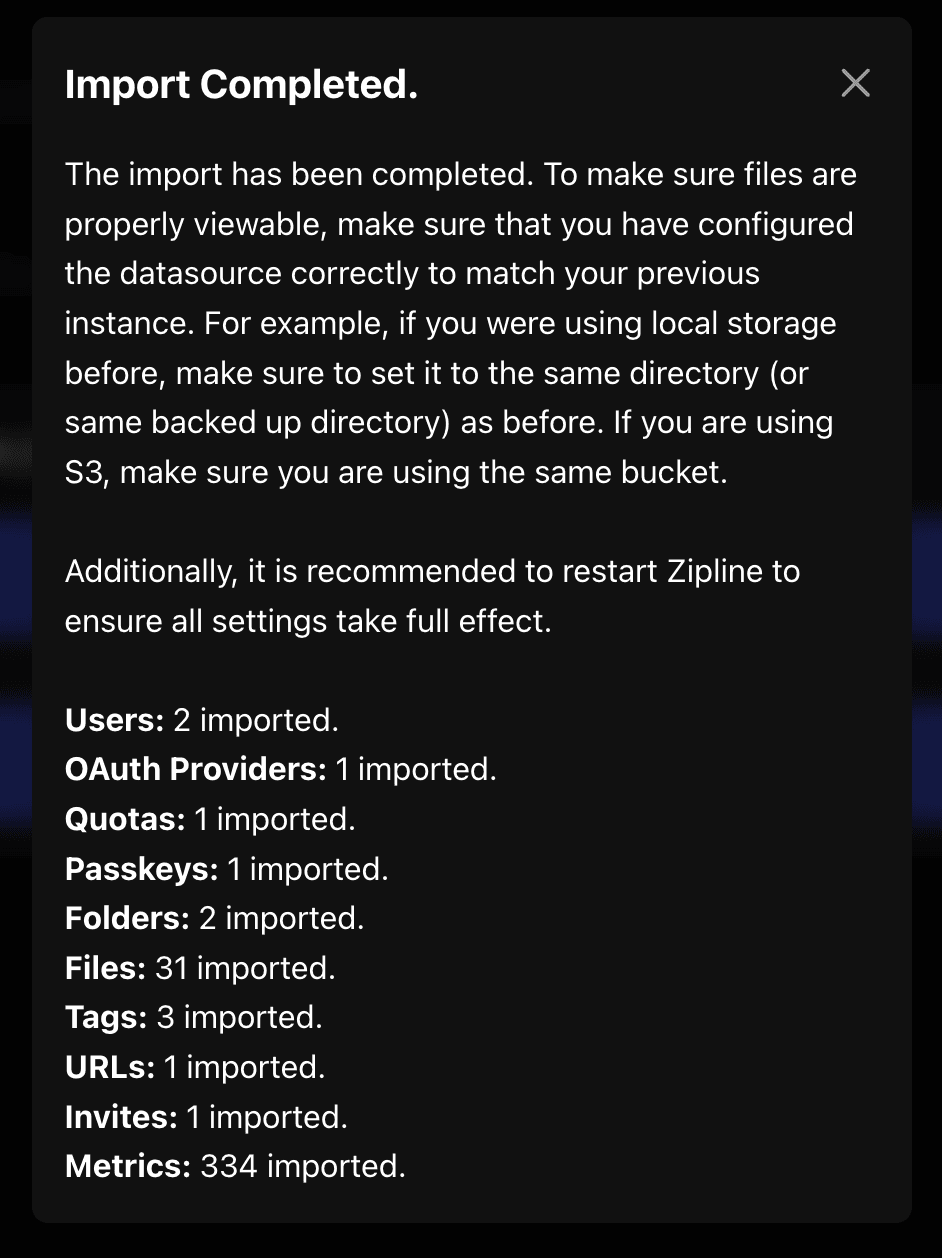
Finally, if everything looks good, you can click the Import Data button at the bottom to confirm and start the import process.
Once the import is complete, you can see what data was imported:
Important Notes
Like what was described at the start, you will need to manually copy over any uploaded files if you are using the local datasource.
Additionally, if you are moving to a new instance (and are using docker compose), it is recommended to copy over your existing .env and docker-compose.yml files, so that any environment variables are preserved.