Passkeys
Authenticate users with WebAuthn passkeys instead of passwords
Passkeys are a way to authenticate users without requiring them to enter a password. Instead, users can click "Login with a passkey" and follow their device prompts to authenticate.
Enabling Passkeys
- Head to the Server Settings page
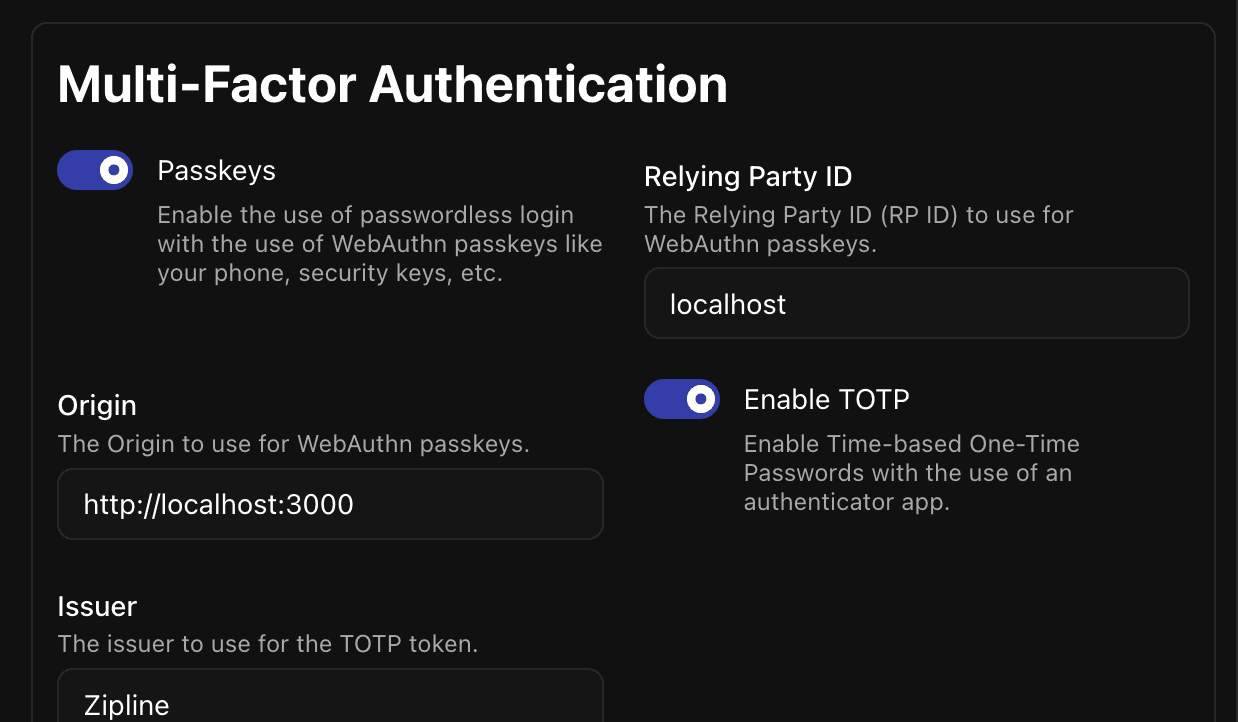
- Scroll down to Multi-Factor Authentication
- Toggle the Passkeys switch
Additionally, you need to set the "RP ID" (Relying Party ID) and the Origin.
- The RP ID is typically your domain name (e.g.,
example.com). If you are running Zipline locally or on an IP address, you can set it tolocalhostor the IP address. - The Origin is the full URL where your Zipline instance is hosted (e.g.,
https://zipline.example.comorhttp://localhost:3000).
Without those two set correctly, passkeys will not work and will most likely throw errors during creation or authentication.
Creating a Passkey
- Head to your user settings (click your user icon in the top right corner)
- Scroll down to Multi-Factor Authentication
- Click the Manage Passkeys button
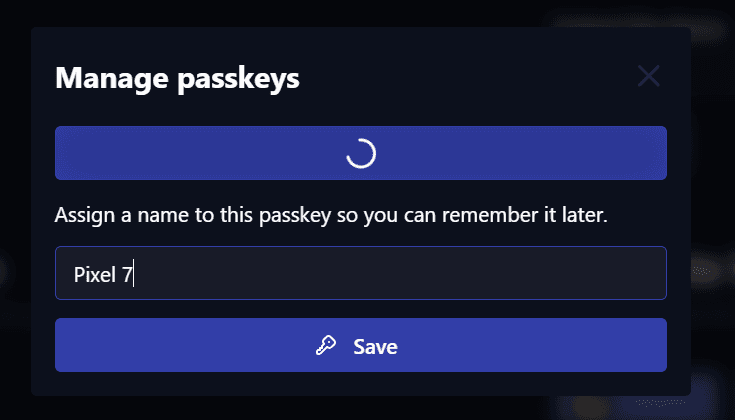
- Click the Create a Passkey button and follow the prompts on your device.
- Give a name to your passkey and click Save
If something went wrong during the creation of your passkey, it will not let you register a passkey for a short period of time.
Managing Passkeys
- Head to your user settings (click your user icon in the top right corner)
- Scroll down to Multi-Factor Authentication
- Click the Manage Passkeys button
Here you can see when your passkey was last used, created at, and choose to delete it.
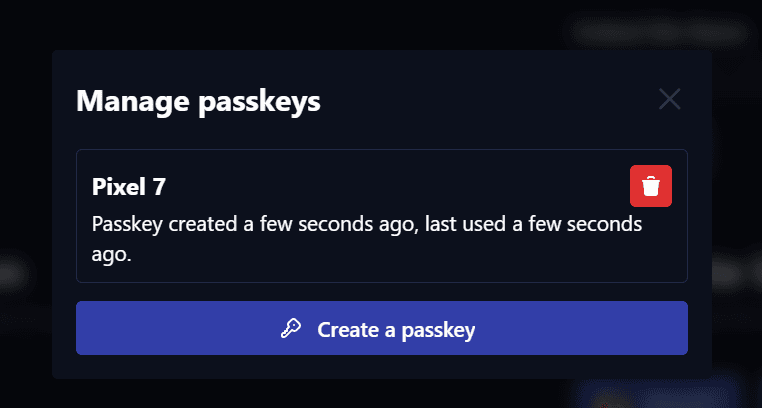
If you choose to delete a passkey, it will only be removed from being able to authenticate with Zipline, and only on Zipline's end. You will need to remove it from your device through however your security key/phone handles it.
Additional Information
Feel free to test out passkeys with passkeys.io