GuidesOAuth
GitHub
Set up GitHub OAuth for Zipline
Create a GitHub OAuth2 application
- Navigate to GitHub Developer Settings: https://github.com/settings/developers and click on "New OAuth App".
- Fill out the "Application name" and "Homepage URL" fields. The "Homepage URL" can be anything, it is not used by Zipline.
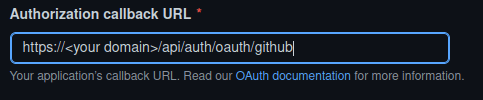
- Enter the "Authorization callback URL". This should be
http(s)://<your domain>/api/auth/oauth/github.
When clicking the "Login with GitHub" button, or linking your GitHub account,
the host that Zipline uses for the redirect URL will be the same as the host
that you accessed Zipline from. If you access Zipline from
http://localhost:3000, the redirect URL will be
http://localhost:3000/api/auth/oauth/github. If you are encountering issues
with the redirect URL, you can set a custom redirect URL in the settings
dashboard. This MUST have the /api/auth/oauth/github path at the end.
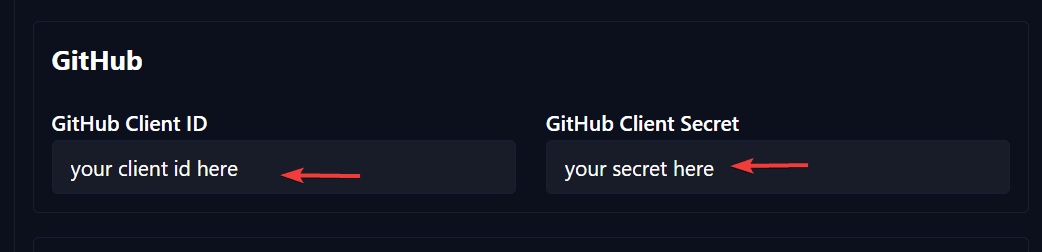
- Click "Register application", then copy the "Client ID" and "Client Secret"

Configure Zipline
- Navigate to your Zipline instance and go to the settings dashboard, scroll down to the "OAuth" section.
- Paste the "Client ID" and "Client Secret" into the respective fields.
- Click "Save" at the bottom of the section.
Once these two fields are filled out, you should see a "Login with GitHub" button on the login page, as well as the option to link your GitHub account in the manage account page.