GuidesOAuth
Setting up Google OAuth for Zipline
Create a Google OAuth2 application
Configure OAuth Consent Screen
- Navigate to the Google Cloud > OAuth Consent Screen page.
- It will ask you if you would like Internal or External, read the descriptions and choose the one that best fits your use case.
- Fill in the required fields like App name, User support email, Developer contact information, etc.
- Under Authorized domains, add your Zipline domain without the protocol (e.g. example.com instead of https://example.com).
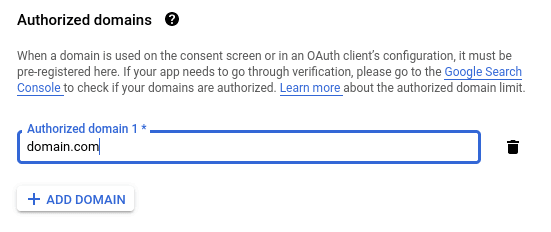
- Click "Save and Continue".
- Click the "Add or Remove Scopes" button.
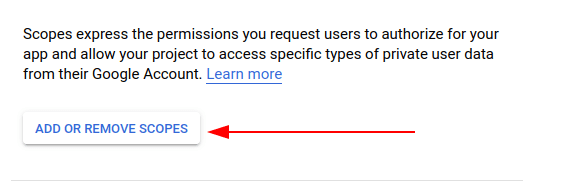
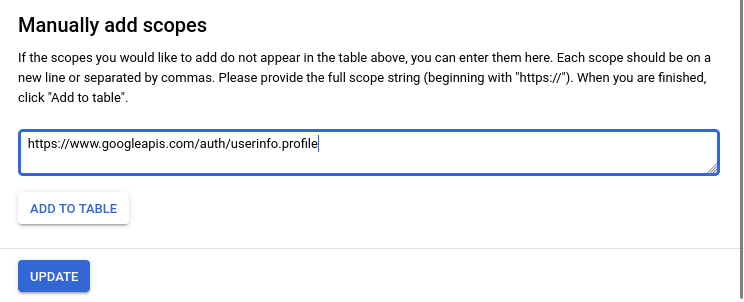
- Under "Manually add scopes" add the following scopes:
https://www.googleapis.com/auth/userinfo.profile
Then click the "Add to table button" button.
- Click "Update" at the bottom of the page.
- Click "Save and Continue".
- Feel free to add test users if you would like, then click "Save and Continue" again.
- Finish the setup and head to the next section to create credentials
Create OAuth2 Credentials
- Navigate to the Google Cloud > Create OAuth Client ID page.
- Select "Web application" as the application type.
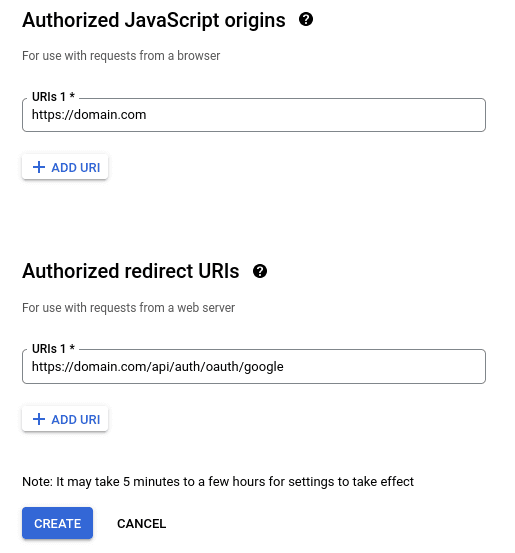
- Under "Authorized redirect URIs", add the following URI:
http(s)://<your domain>/api/auth/oauth/google - Under "Authorized JavaScript origins", add the following URI:
http(s)://<your domain>
When clicking the "Login with Google" button, or linking your Google account,
the host that Zipline uses for the redirect URL will be the same as the host
that you accessed Zipline from. If you access Zipline from
http://localhost:3000, the redirect URL will be
http://localhost:3000/api/auth/oauth/google. If you are encountering issues
with the redirect URL, you can set a custom redirect URL in the settings
dashboard. This MUST have the /api/auth/oauth/google path at the end.
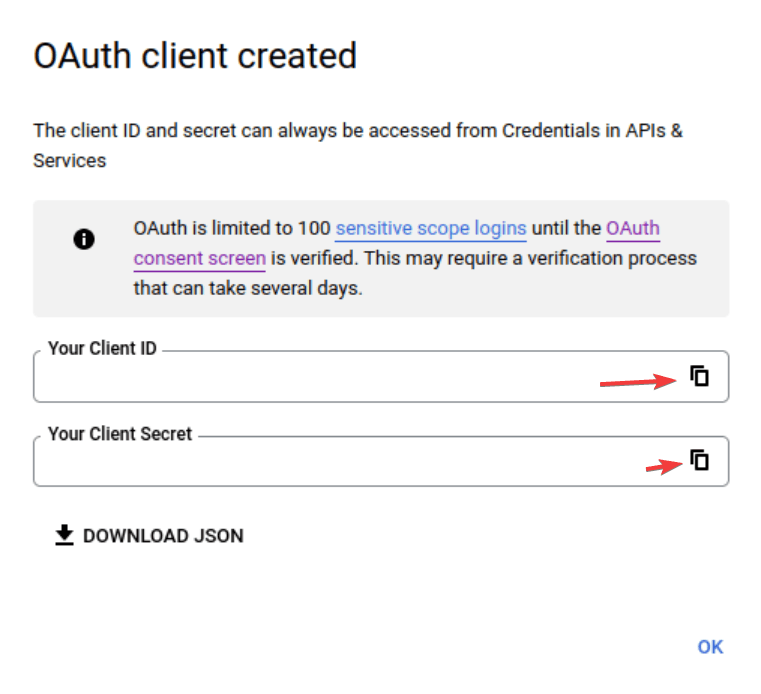
- Click "Create" and copy the "Client ID" and "Client Secret" for later.
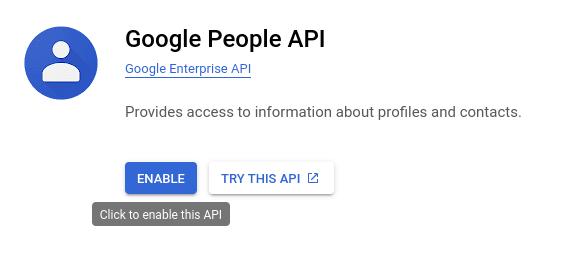
- Click "Library" in the sidebar.
- Search for "Google People API" (or click here) and click on it.
- Click "Enable" at the top of the page.
Configure Zipline
- Navigate to your Zipline instance and go to the settings dashboard, scroll down to the "OAuth" section.
- Paste the "Client ID" and "Client Secret" into the respective fields.
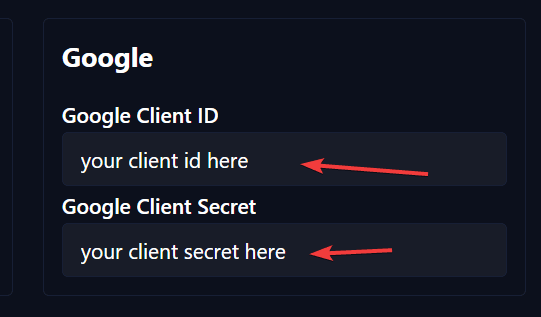
- Click "Save" at the bottom of the section.
Once these two fields are filled out, you should see a "Login with Google" button on the login page, as well as the option to link your Google account in the manage account page.